Live Streaming Guide
With VKit you could also organize high quality live streaming, we created VKLiveStreamViewController for you to do this.
Introducing VKLiveStreamViewController
The live stream controller allows you to perform high quality broadcasting which can adopt to diverse wireless condition, it provides sub 2 seconds latency and able to scale to millions of viewers. After finish of live streaming it will be saved to video.io as regular video, so you can play it after. There are two different ways you could integrate the live stream controller in your app.
Interface Builder
Integrating the live stream controller into your app is easy through interface builder. Just follow the next steps:
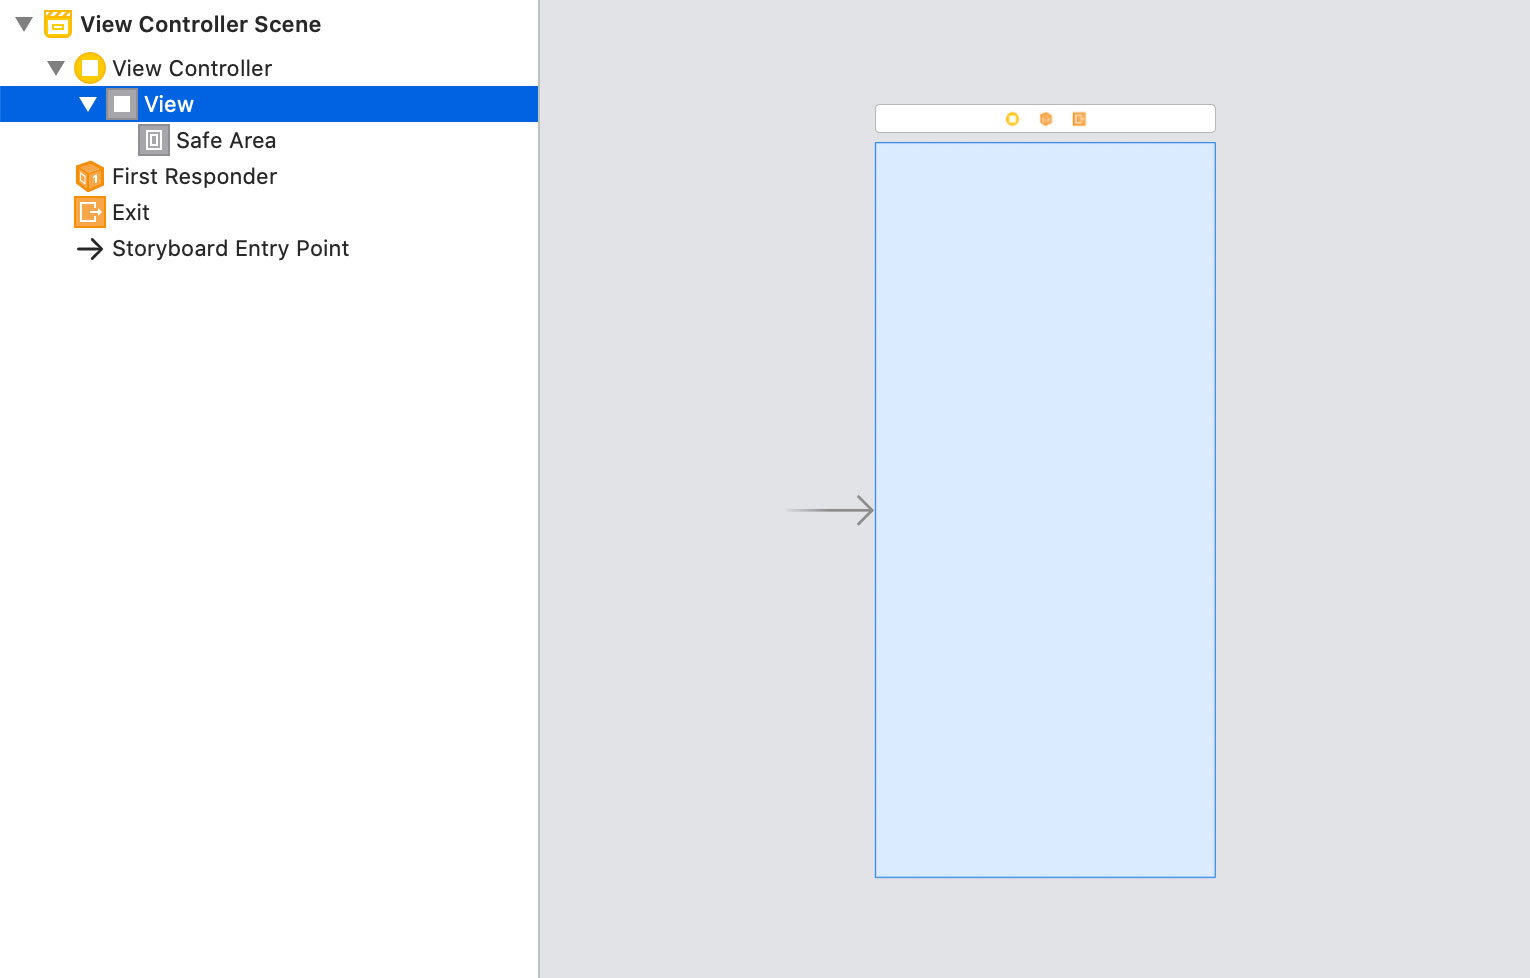
Go to your Storyboard and head to the view you're interested in embedding the live stream controller

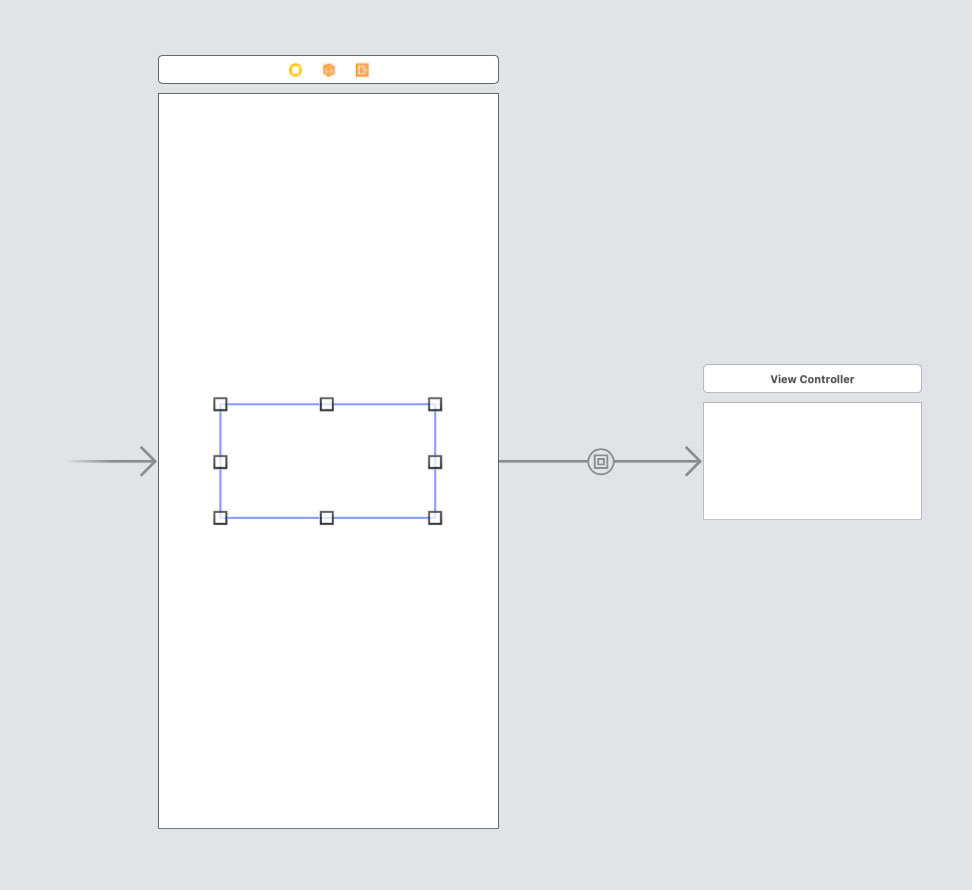
Add a container view into where you want to embed live stream controller.

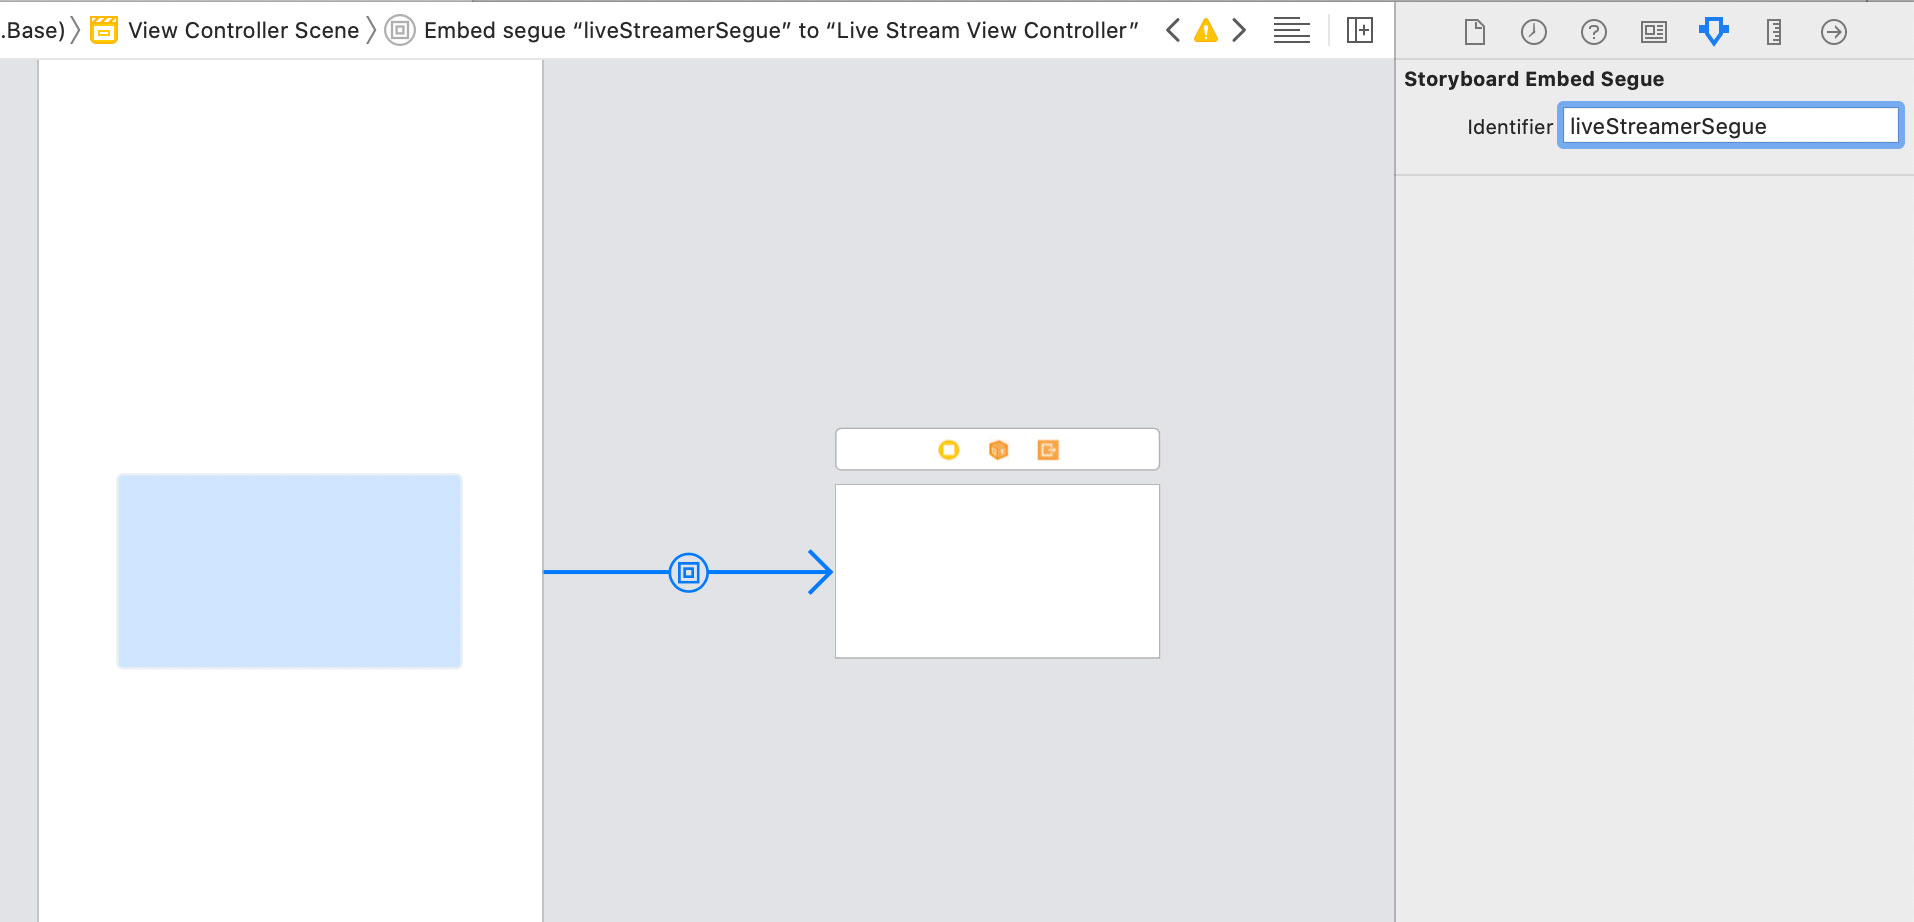
Enter a segue identifier for the segue. In this case we named it liveStreamerSegue

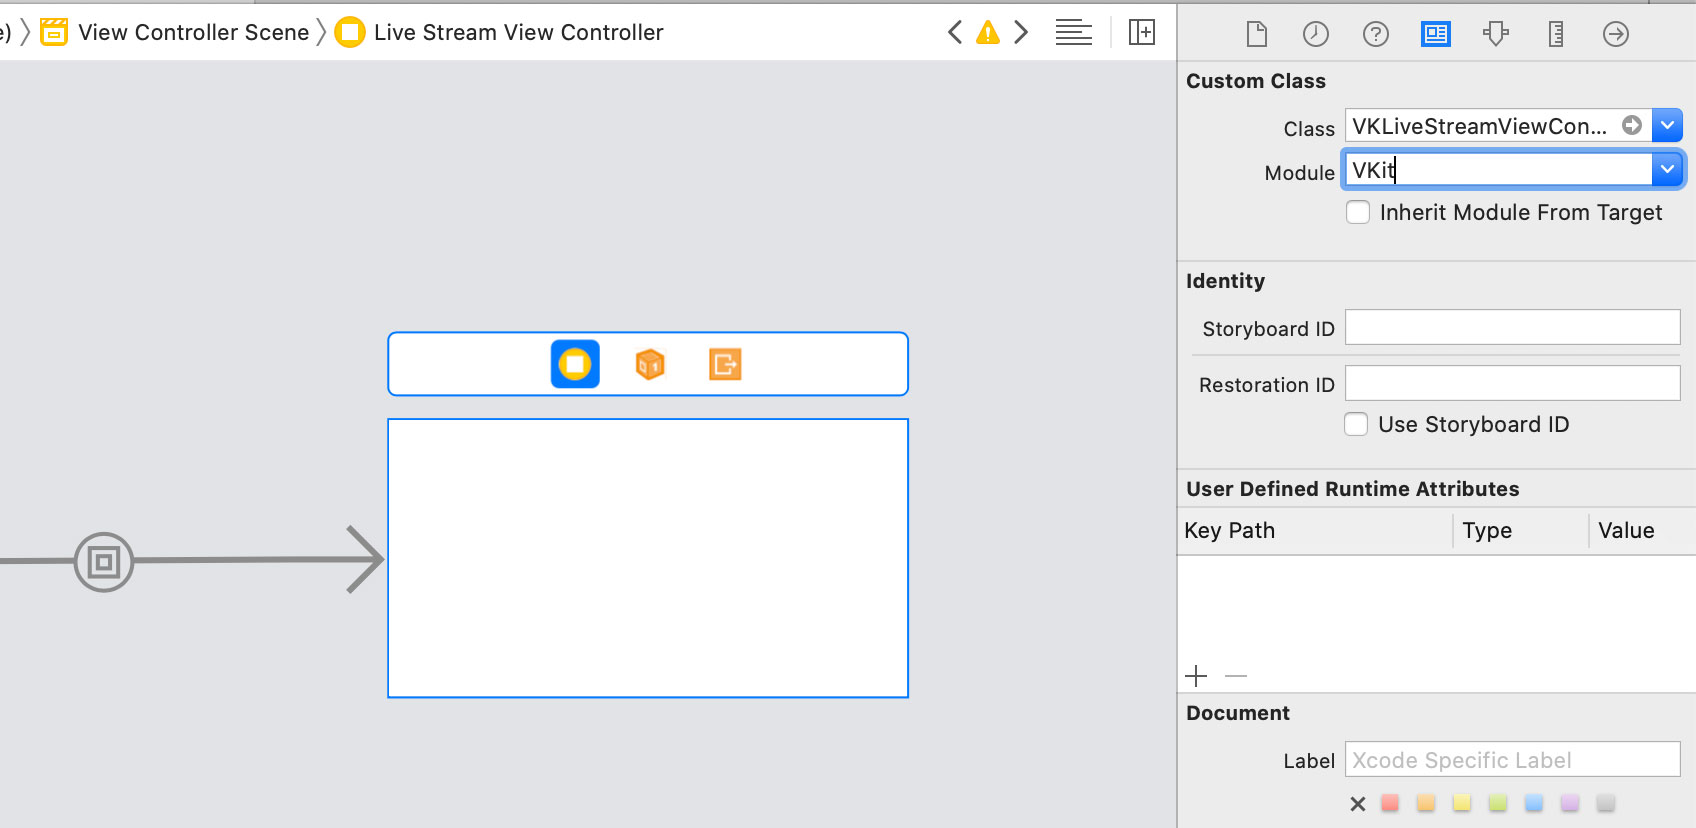
In the linked View Controller to the container please change the type of class from
UIViewControllertoVKLiveStreamViewController, put VKit to Module.
In your view controller code that contains the embed container view, enter the following code in your
prepareForSegue()method.
override func prepareForSegue(segue: UIStoryboardSegue, sender: AnyObject?) {
    // any other code that you may have

    if segue.identifier == "liveStreamerSegue" {
        if let viewController =  segue.destinationViewController as? VKLiveStreamViewController {
            // Do what you want with `viewController` which is your instance of VKLiveStreamViewController
        }
    }

    // any other code that you may have
}
Code Integration
You may also add the live stream controller through code.
In your view controller class you can embed the live stream controller by adding the following code:
let liveStreamerViewController = VKLiveStreamViewController()

self.addChildViewController(liveStreamerViewController)
self.view.addSubview(liveStreamerViewController.view)
self.view.addConstraints(NSLayoutConstraint.constraints(withVisualFormat:"H:|[liveStreamerView]|", options: [], metrics: nil, views: ["liveStreamerView": liveStreamerViewController.view]))
self.view.addConstraints(NSLayoutConstraint.constraints(withVisualFormat:"V:|[liveStreamerView]|", options: [], metrics: nil, views: ["liveStreamerView": liveStreamerViewController.view]))
If you don't wish to embed the live stream controller, you could always present the view controller as so:
presentViewController(liveStreamerViewController, animated: true) {
    // your optional completion code
}
Live streaming
So now that you have embedded the live stream controller into your code now it's time to do live streaming. To start live stream, just simply add the following lines of code.
liveStreamerViewController.startStreaming()
If you want to pause live stream simply call the following:
liveStreamerViewController.pauseStreaming()
This will pause the streaming but will keep the stream open.
If you want to finish live streaming call:
liveStreamerViewController.completeStreaming()
Live stream controller has ability to hide it's controls, so that you can add any control you wish. In this case please set showControls to false.
Known issues
- Please note that the new arm64 iOS Simulators (running on Apple Silicon Macs) are not supported, yet!